


Pionex Crypto Trading Bot User Guide —Chapter 1 — Getting Started
A New User Guide in Progress…


It’s been about 9 months since my first book was published, The Ultimate Beginner’s Guide to Crypto Trading Bots. I have received lots of feedback and the most common comment — people wish I would cover every feature of the trading bots on Pionex instead of just general information.
My first book was meant to be a general beginner’s education on trading bots and their operating principles, but because all of my screenshots are Pionex, it makes sense that people are confused that I didn’t go into more detail, and want to know more about Pionex.
This story series is going to become that book.
Parts of this story series will be expansions on chapters in the Ultimate Beginners Guide, but this new book will elaborates and cover every feature, every bot, and give hypothetical examples for illustration of the bots operation.
The goal is for the final book to be 300 pages, including screenshots and graphics.
Thank you for reading, and thank you for any feedback if you leave comments!
Chapter 1 — Getting Started
You will first need to create a Pionex account. This can be done through your web browser, or your mobile phone.
I prefer to run trading bots from my mobile phone, and it is also the easiest way to get started! All of the images in this book were taken from the Pionex Mobile App.
If you are wanting to learn on your mobile device, go to your Google Play or iOS App Store and search for Pionex (or your preferred crypto exchange/bot app)
Download and Install.
If you prefer to run your bots from a computer, you may do that as well by going to your preferred exchange website URL.
Example :
https://www.pionex.u
s for United States users, or just
https://www.pionex.com
for everyone else.
1 — Create a New User Account
2 — Verify Your Email or Phone
Creating a User Account and Verifying Your Email should be a familiar process to everyone who has used the internet.
You sign up with your mobile number and email, creating a password, etc. After these two steps are complete, you will now have limited access to the exchange.
Note: I recommend using an email and a password that you don’t use anywhere else, or have never used before. When you are dealing with crypto, you should practice being more cautious and secure than you are with any other type of website.
Use as many numbers and special characters in your password as your memory can handle. I created a special email that I don’t use for anything else, and isn’t likely to be leaked in some breach on some other platform.
In order to gain full access to your trading account, you will need to navigate to your account settings and set up a few security related options.
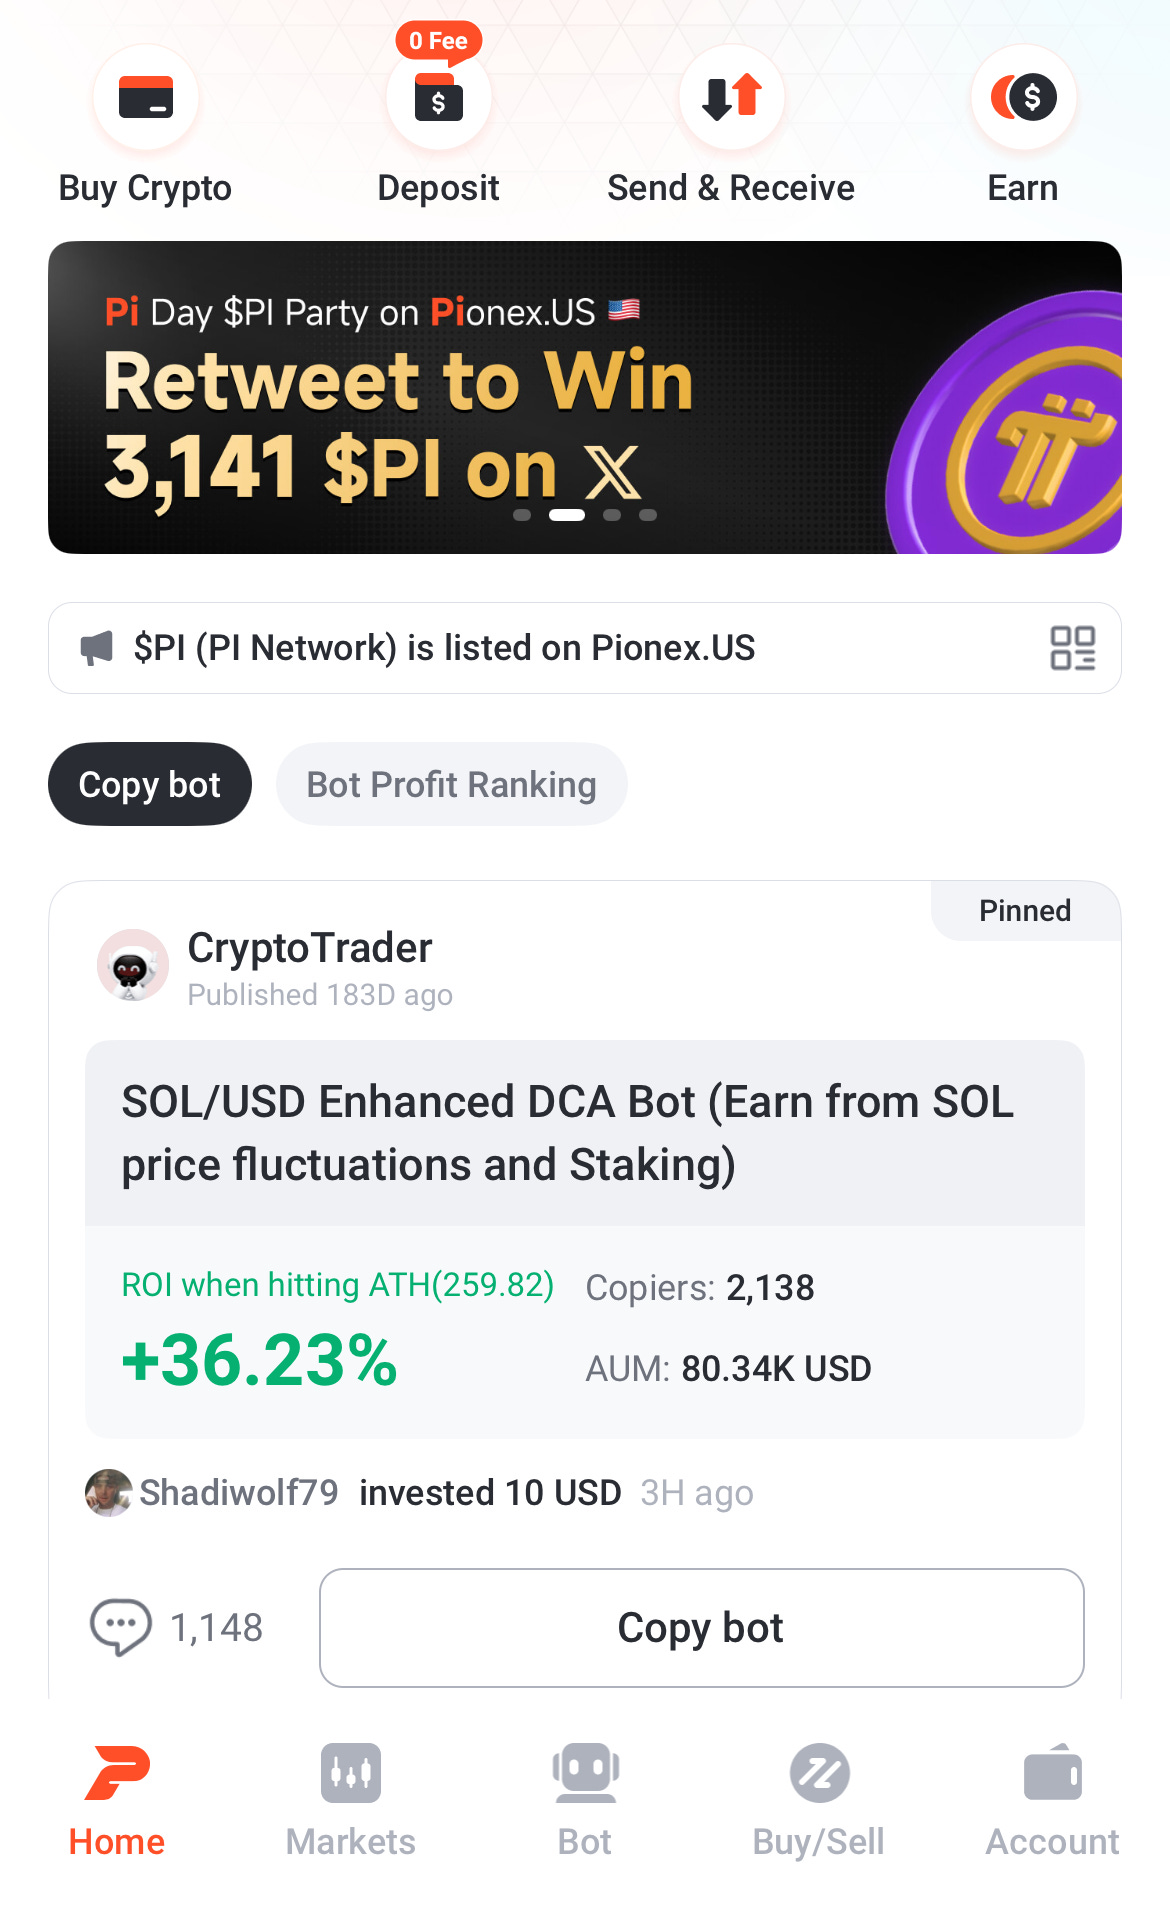
Once you have set up your account and you are signed into Pionex Mobile App, this is what you will see:
3 — Verifying Your Identity or KYC (Know Your Customer)
Identity Verification/KYC may be new to some, but it has become increasingly common. It means presenting your government-issued ID to verify that you are the person you are claiming to be. This is often accompanied by uploading or taking a photo, and/or facial recognition measures. Once you are verified, any existing account limits are removed and you have full access to trading.
To verify your identity, you will need to navigate to Account in the menu at the bottom of the screen.

Then select the GEAR icon at the top of the screen:

This opens the Setting menu.
In the Setting menu you will see a Security option, tap it.

Under Security, you will see the option for Identity Verification. Select it.

Follow Pionex’s instructions to verify your identity.
This will include:
providing a government issued ID
facial recognition scanning
Once your identify verification is complete, you will see this screen and you will have full access to all Pionex features.
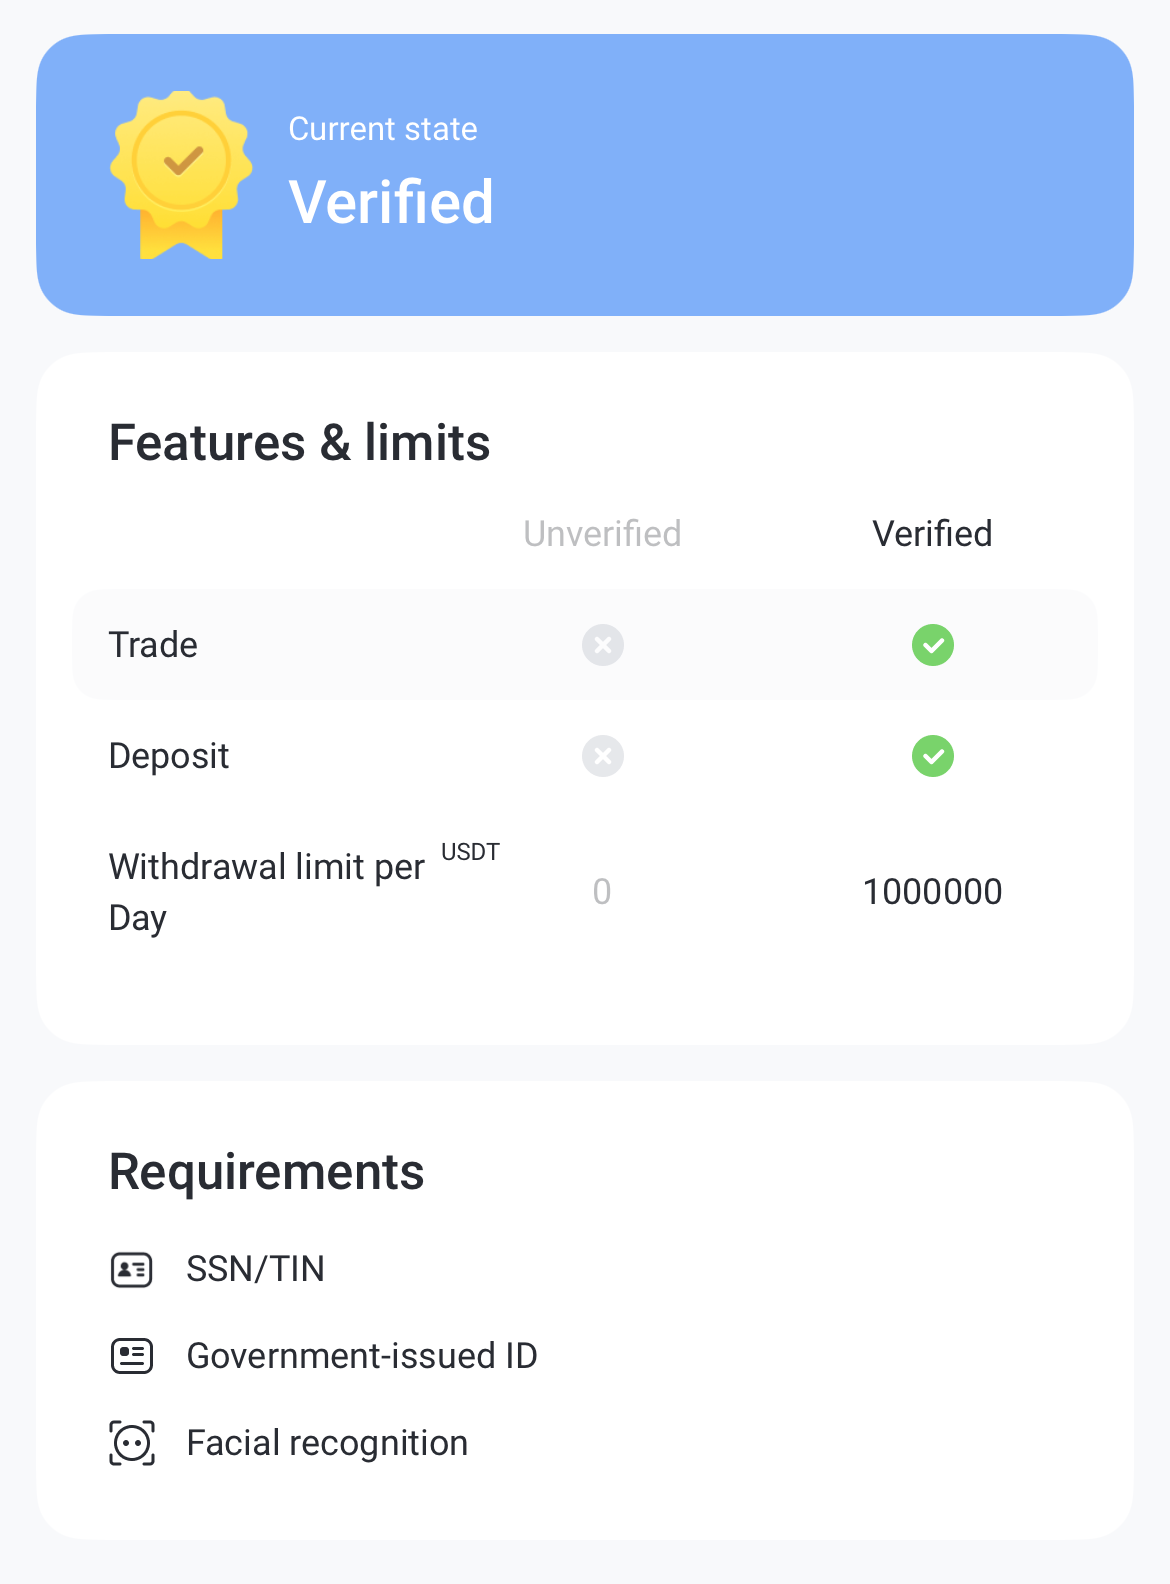
Sometimes this is fast, other times it takes a few days to complete verification. Be patient.
4 — Set up Multi-Factor Authentication
I highly recommend tightening your app security by setting up 2-Factor Authorization, first order of business. Then set up the rest. Make your trading experience as secure as it can possibly be.
In the same menu as before, select Multi-Factor Authentication. It is recommended to set up all forms of security provided. The more secure, the better.

Once you are set up, a green checkmark will appear next to the security option indicating you have completed the set up.
5 — Fund your trading account and start a bot!
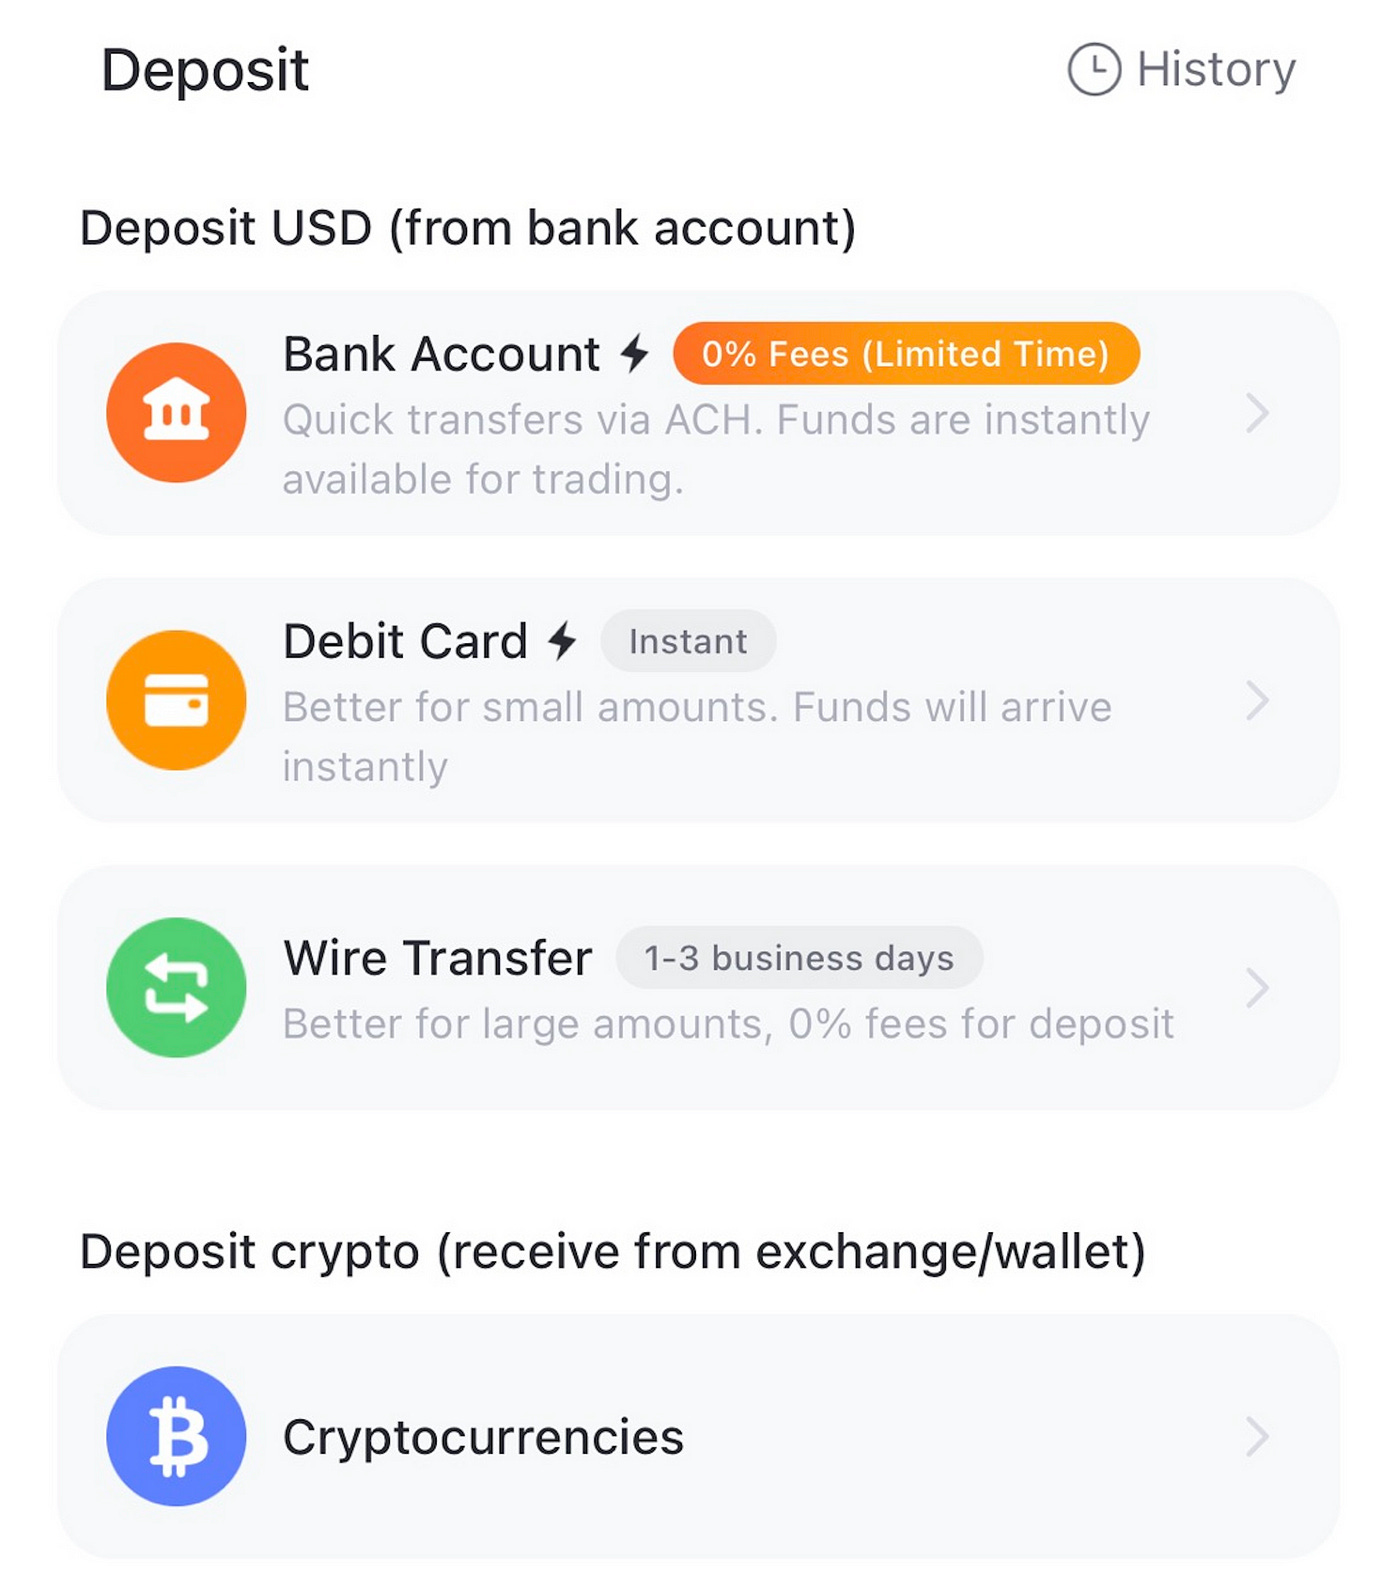
Before you can start any bot, you will need to have money (or crypto) in your Pionex trading account.
You can fund your account from your bank, debit, or transfer cryptocurrencies from another wallet.
Once you are set up, funded, and ready to go, you can start your first bot!
Go to the bottom of your screen, and you will see a “Bot” button.
Select that button.

This opens the Bot Screen.
Now select “+ Create”.

A useful tip for those just getting started with automated trading:
Start Small!
Start by only investing small amounts into your crypto bots. This is what it takes to gain trading confidence!
You never want to invest big, lose big, and end up knocking the wind right out of your sails before you truly get started. Losing big can be a serious motivation killer!
How much should I invest when I start?
$100 is my gold standard for all new bots that I am testing. This is a good starting point for crypto bots. You can start lower if you prefer and if the bot allows for it. Most of the bots on Pionex have very low minimums.
Always start small on any new unfamiliar bot, even if you think you completely understand what the bot is doing. My $100 rule is still in effect today when I test new bots, or even the same bots on new platforms that I have never used before.
Chapter 1 Key Points:
To get started, you have to create your account on Pionex
Make your password as hard to guess as you can, as many numbers and special characters as your memory can handle
You should immediately set up your 2-Factor Authorization security settings. Always protect yourself!
You will also be asked to verify your identity in order to remove limitations on your account. This means government ID or some way to verify you are, who you say you are.
To start a bot, you will need to fund your trading account with your bank, debit, or external cryptocurrency
Start with small balances. $100 is a good starter balance for a trading bot, but you can go lower if the platform has a lower minimum.
Continue to the Next in this series:
Pionex Crypto Trading Bot User Guide —Chapter 2 — Create a Bot

This book will cover each trading bot in detail, but first let’s get familiar with the Pionex bot interface, and a few basic options.
Thank you for reading!
Until next time….
Onward and Upward Everybody!
-Chris
#tradingbots #cryptotradingbots #ultimateuserguides #botlife