


AI Automated Print on Demand: A Step-by-Step Guide
Dissecting 101 AI Automated Print on Demand Product Generator Blueprints

AI has changed the way many of us create, manage, and sell products, especially in the world of print-on-demand.
Today, I’m diving into AI-powered automation that can streamline your product creation process, turning ideas into ready-to-sell items with minimal effort.
Whether you’re a beginner or a seasoned entrepreneur, understanding these systems can open doors to endless creative possibilities.
I use these workflows to build and test product concepts in minimal time, and to empower other e-commerce store owners to do the same!
Let’s get started!
Breaking Down the Blueprint: The Building Blocks of AI Automation
At first glance, AI product generators might look intimidating. But as the saying goes, “The leg bone’s connected to the hip bone.” By breaking it into segments, you’ll see how everything works together seamlessly.
My AI blueprints are designed with three core segments:
Image Generating Segment: Tools like Ideogram or DALL·E generate stunning visuals for your products.
Text Generating Segment: ChatGPT or similar AI tools craft creative titles and descriptions.
Print-on-Demand Segment: Platforms like Printify handle the product upload and publishing process.
Each segment plays a specific role, and once you understand their functions, you’ll have a foundation to build more complex workflows tailored to your needs.
Step 1: Setting Up Your Image Generator
The journey starts with creating visuals. For this example, I used Ideogram to generate a beautiful vertical acrylic wall art design. If text is central to your design, Ideogram is unbeatable for delivering polished results.
How to get started:
Connect your Ideogram module to your Make account.
Choose the style type — for example, “realistic” for photographic-quality results.
Craft a detailed prompt, or borrow inspiration directly from the Ideogram website.
Use the “magic prompt” feature cautiously — it can embellish prompts, sometimes with unexpected results.
Pro Tip: Use a “negative prompt” to avoid unwanted elements in your designs, such as frames or artist depictions in the foreground.
Step 2: Scaling Your Image for Perfection
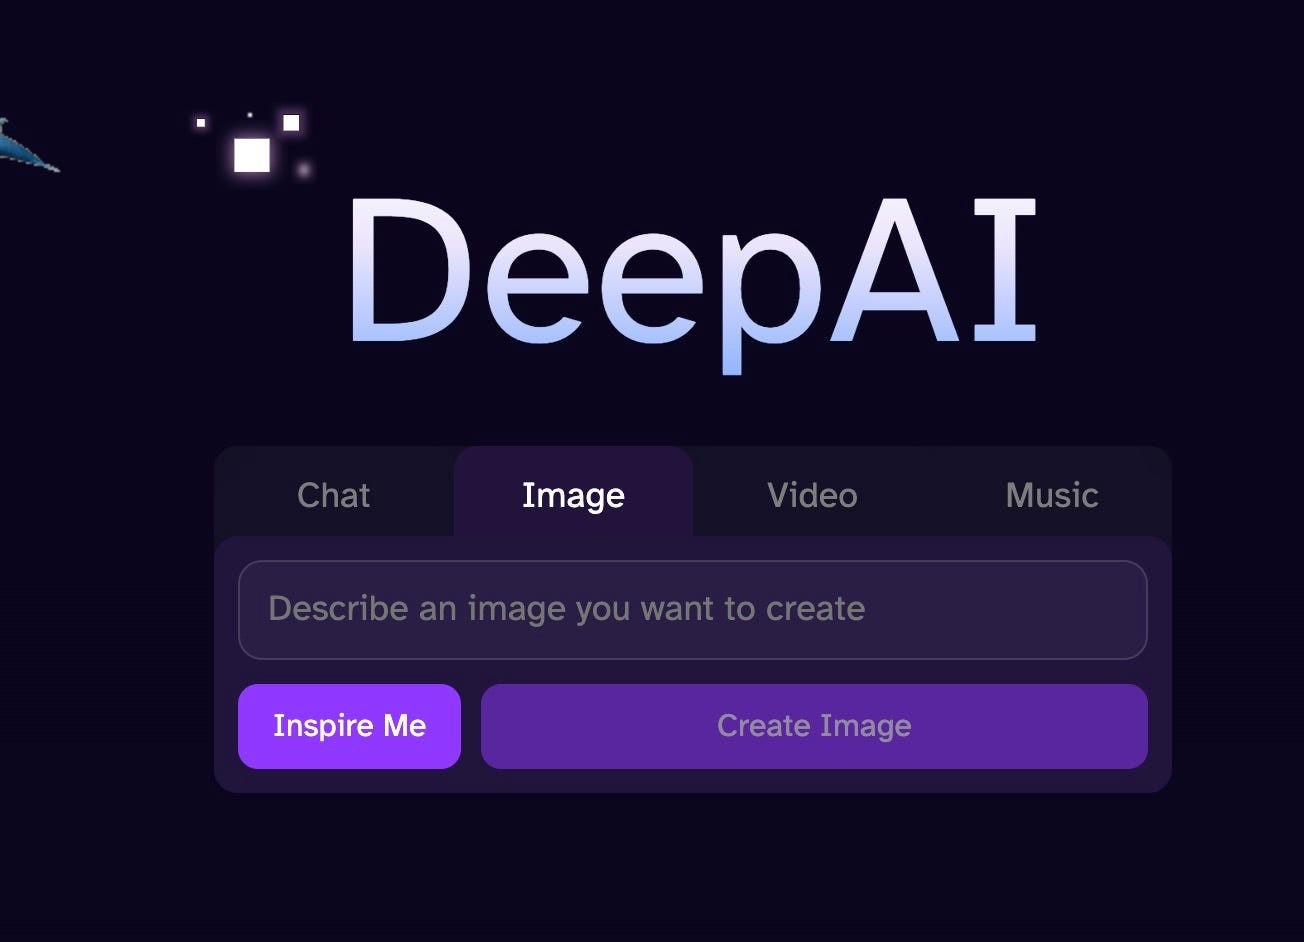
Not all images are ready for print right after generation. This is where the image scaler comes in. Ideogram’s built-in scaler has limitations (up to 2x), so I prefer using Deep AI’s image scaler, which can scale up to 3x for better resolution.
Here’s how to set it up:
Create a Deep AI account and obtain your API key.
Connect the scaler module to your workflow using the Deep AI API URL.
Map the output from your image generator to the scaler for seamless integration.
This ensures your image maintains its quality, no matter the size of the product you’re creating.
Step 3: Generating Perfect Titles and Descriptions
Creative copy is key to making your product stand out. I use ChatGPT for this task, but you can easily adapt similar tools like Google Gemini or Anthropic Claude.
The basic workflow setup:
For titles, use a straightforward prompt like “Create a short, unique title for this image.”
For descriptions, establish an assistant role like: “You are a world-class copywriter for e-commerce companies.”
Include negative prompts to avoid undesired elements like artist names or quotation marks.
Ensure your output is concise, engaging, and optimized for ecommerce platforms.
Pro Tip: Generate descriptions based on titles. This approach saves on costs and ensures consistency between your product name and its description.
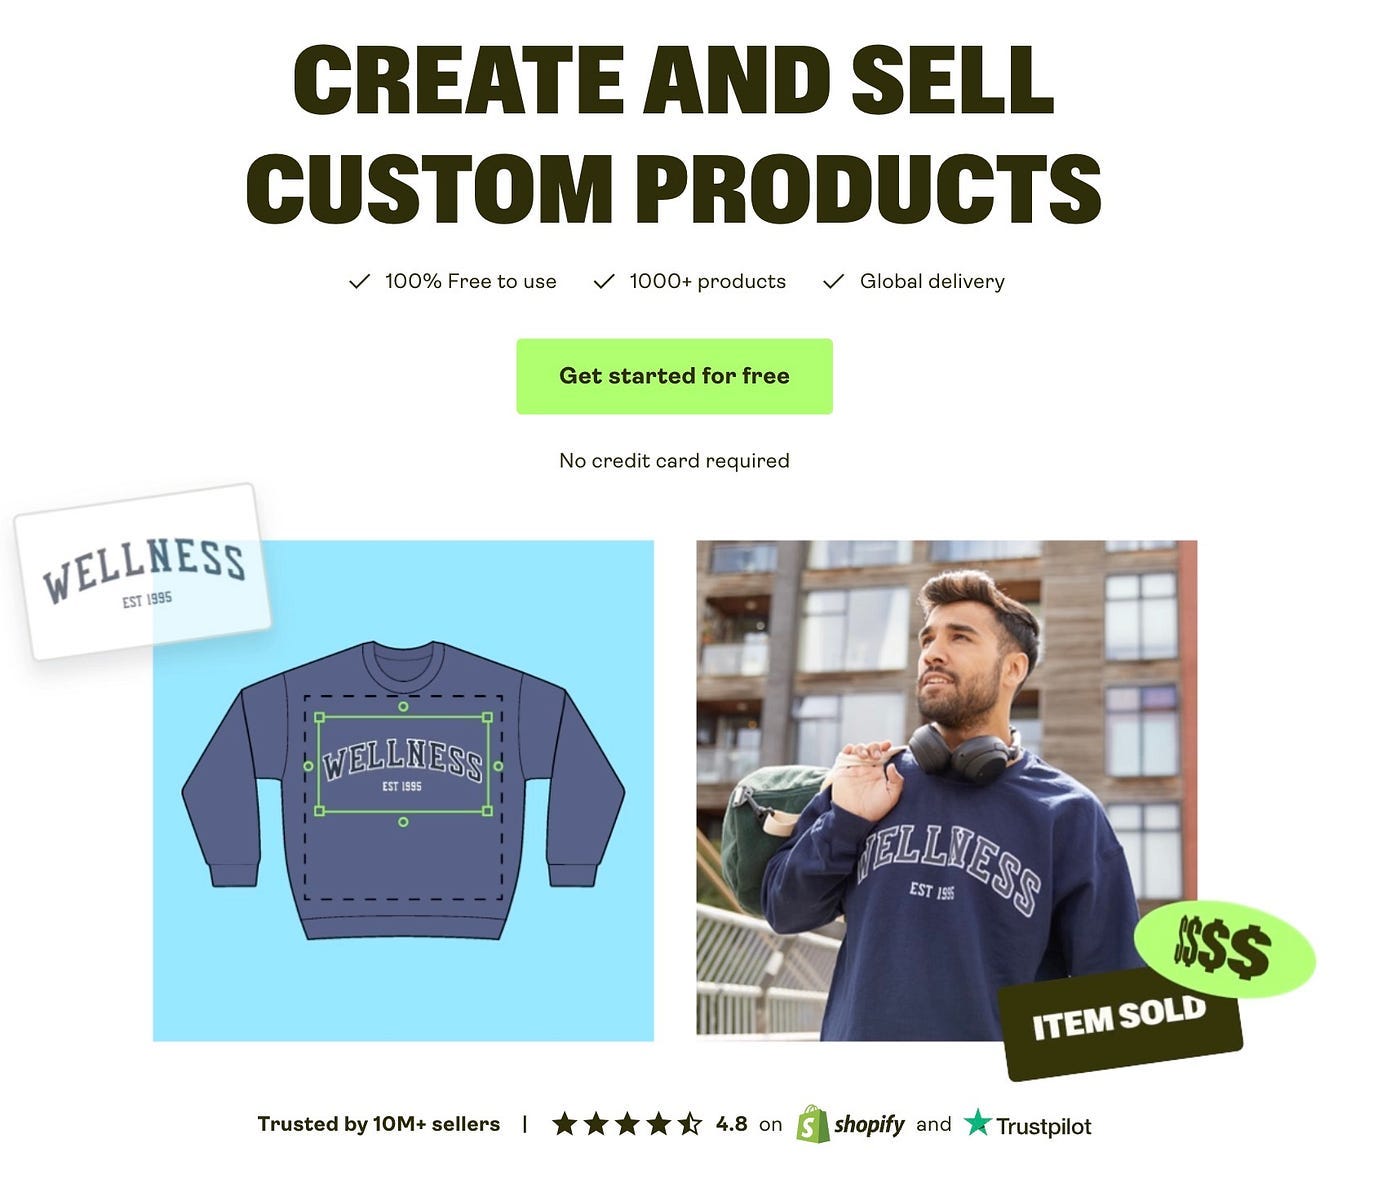
Step 4: Publishing Your Product with Printify
The final step is uploading your product to a print-on-demand platform like Printify. This is where everything comes together. From setting the title and description to configuring variants and pricing, Printify’s robust native Make module makes this easy.
Here’s a quick checklist:
Map your scaled image to the upload module.
Select the Blueprint ID and print provider to match your product type.
Configure variants like size and price. Remember, Printify uses invisible decimals (e.g., 29900 = $299.00).
Set tags for easier sorting and organization in your store.
Pro Tip: Begin by publishing products in a draft state. This gives you the chance to review and make adjustments before they go live.
Final Thoughts: Why AI Automation is a Game-Changer
AI automation empowers creators to focus on what matters most — creativity and innovation. By leveraging tools like Ideogram, Deep AI, and Printify, you can streamline your workflow, reduce manual labor, and launch products faster than ever.
What product would you love to create using AI automation?
Share your ideas in the comments below!
And don’t forget to check out my website for freebies like the Social Media Magic Wand to amplify your creative projects.
Thank you for reading!
Until next time….
Onward and Upward Everybody!
-Chris
A.I. Lifestyle
Lifestyle Income Automation Solutions. "There is always a solution for everything!" ⭐ Become a Member of this Channel…
#printondemand #ideogram #ai #openai #productgenerator #ecommerce #ecom #shopify #etsy #ebay #woocommerce